
Quick Start#
A first polycrystal in a minute: a tessellation of 100 cells (grains), regularized, and meshed into finite elements.
Install Neper (see Installation).
Generate the tessellation:
$ neper -T -n 100 -reg 1
This writes the Tessellation File (.tess)
n100-id1.tess, a Voronoi tessellation of 100 cells in a unit cube (option-n). Option-regregularizes it, that is, removes its small edges and faces, so that it can be meshed with high-quality elements.Mesh the tessellation:
$ neper -M n100-id1.tess
This writes the Mesh File (.msh)
n100-id1.msh, made of 10-node tetrahedral elements (one element set per cell). It can be used directly by FEPX (assimulation.msh), whose results Neper post-processes with the Simulation Module (-S).Visualize the tessellation and the mesh:
$ neper -V n100-id1.tess -print tess
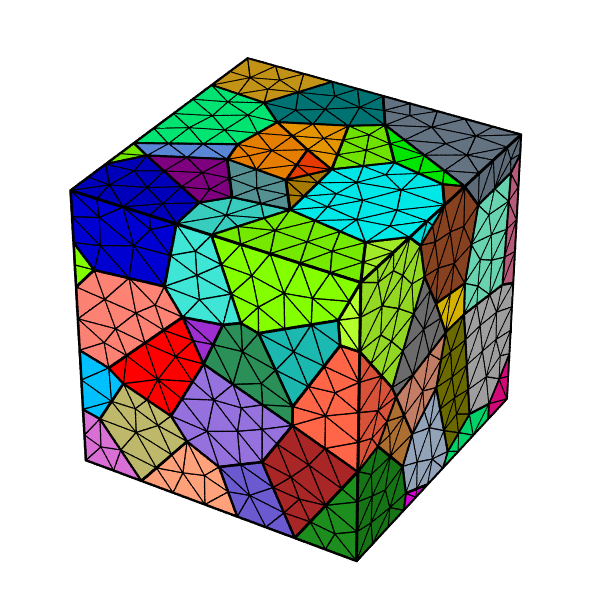
$ neper -V n100-id1.tess,n100-id1.msh -showelt1d all -print mesh
This writes the PNG images
tess.pngandmesh.png: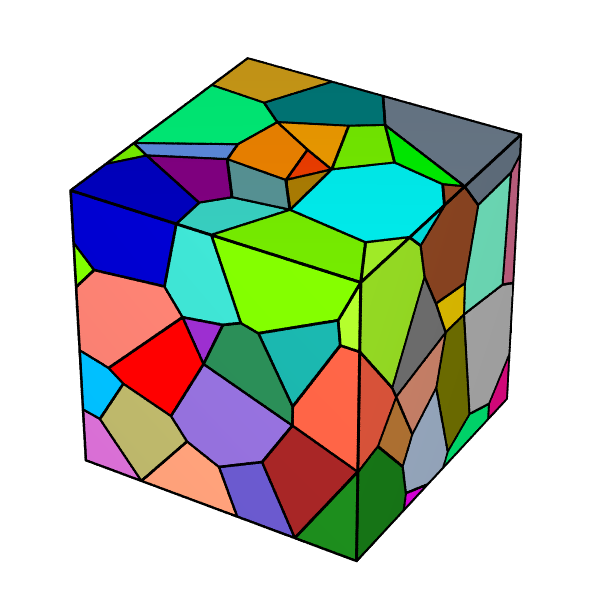
Next: Tessellation Module (-T), Meshing Module (-M) and Visualization Module (-V) describe the modules, and Tutorials gives more examples (see in particular Meshing a Tessellation (-T, -M)).