Generating and Meshing a Simple Tessellation
The only required input to generate and mesh a simple tessellation is the number of cells. By default, a 3D Voronoi tessellation is generated [CMAME2011]. 2D is also available (option -dim).
Note
To reproduce exactly the images below, add the following line to your $HOME/.neperrc file (or to a local configuration file to be loaded with --rcfile):
neper -V -imagesize 800:400
Generating a Tessellation
The number of cells can be specified using option -n of the Tessellation Module (-T).
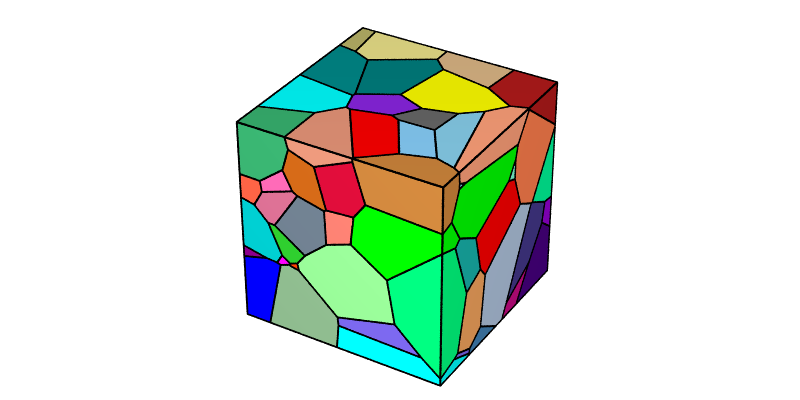
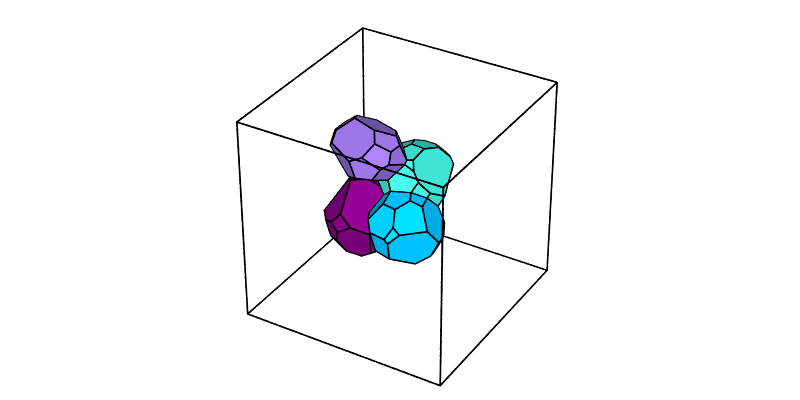
A 100-cell tessellation can be generated as follows:
$ neper -T -n 100
This produces a Tessellation File (.tess) named n100-id1.tess.
The tessellation can be visualized using the Visualization Module (-V):
$ neper -V n100-id1.tess -print img1
This produces a PNG file named img1.png where cells are colored arbitrarily from their ids.

Another tessellation with the same number of cells but different cell properties can be generated using -id (the default value is 1):
$ neper -T -n 100 -id 2
This produces a Tessellation File (.tess) named n100-id2.tess.
The tessellation can be visualized as before:
$ neper -V n100-id2.tess -print img1b
Meshing a Tessellation
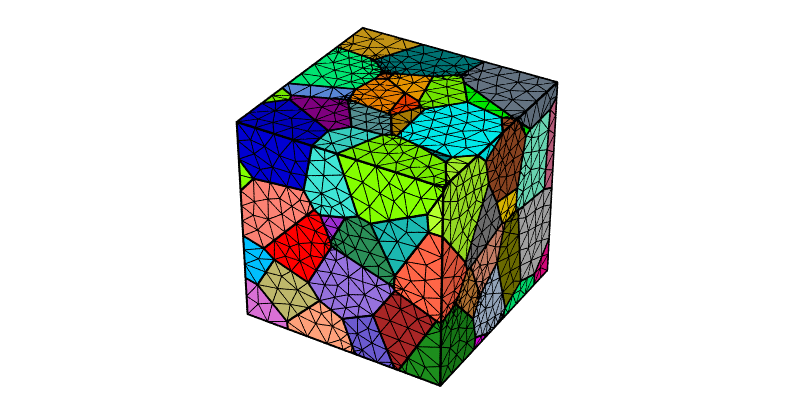
A mesh can be obtained by passing n100-id1.tess to the Meshing Module (-M):
$ neper -M n100-id1.tess
This produces a Mesh File (.msh) named n100-id1.msh.
The mesh can be visualized using the Visualization Module (-V):
$ neper -V n100-id1.tess,n100-id1.msh -print img2
Note
When both the tess file and mesh file are available, it is a good practice to pass both of them to -V by using the , separator. Only the mesh is printed.
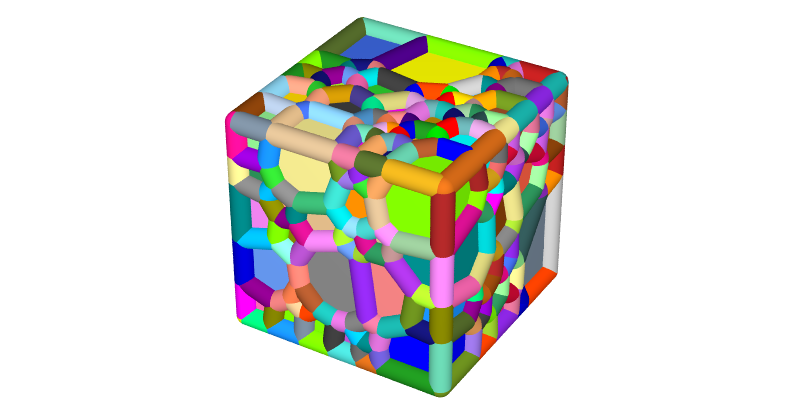
The cell boundaries can be highlighted via the 1D elements, using -showelt1d and -dataelt1drad:
$ neper -V n100-id1.tess,n100-id1.msh -showelt1d all -dataelt1drad 0.005 -print img3
Regularizing a Tessellation
It is quite clear from the above image that the mesh is overrefined at some locations, which is where small edges typical of Voronoi tessellations are. Neper includes regularization (option -regularization), which removes the smallest edges of the tessellation [CMAME2011]:
$ neper -T -n 100 -reg 1
$ neper -V n100-id1.tess -print img4
Note
An option name may be abbreviated as long as the abbreviation is not ambiguous. Specifically, -regularization can be abbreviated to -reg.
The resulting tessellation is very similar to the original one, as only slight morphological changes occur during regularization. However, no local mesh overrefinements will be present anymore.
The new tessellation can be meshed, and the mesh can be visualized as before:
$ neper -M n100-id1.tess
$ neper -V n100-id1.tess,n100-id1.msh -showelt1d all -dataelt1drad 0.005 -print img5
Setting Mesh Properties
Mesh properties can be specified, such as the element size or characteristic length, the element type, etc.
For example, smaller elements than shown above can be obtained using option -rcl, and 2nd-order elements can be obtained using option -order:
$ neper -M n100-id1.tess -rcl 0.7 -order 2
$ neper -V n100-id1.tess,n100-id1.msh -showelt1d all -dataelt1drad 0.005 -print img6

This mesh can be used by FEPX.